Search or browse all guides
Quick visual guide
Invite from Members and give each person the smallest useful role.
- 1
Open Members
Go to Workspace and choose the Members tab.
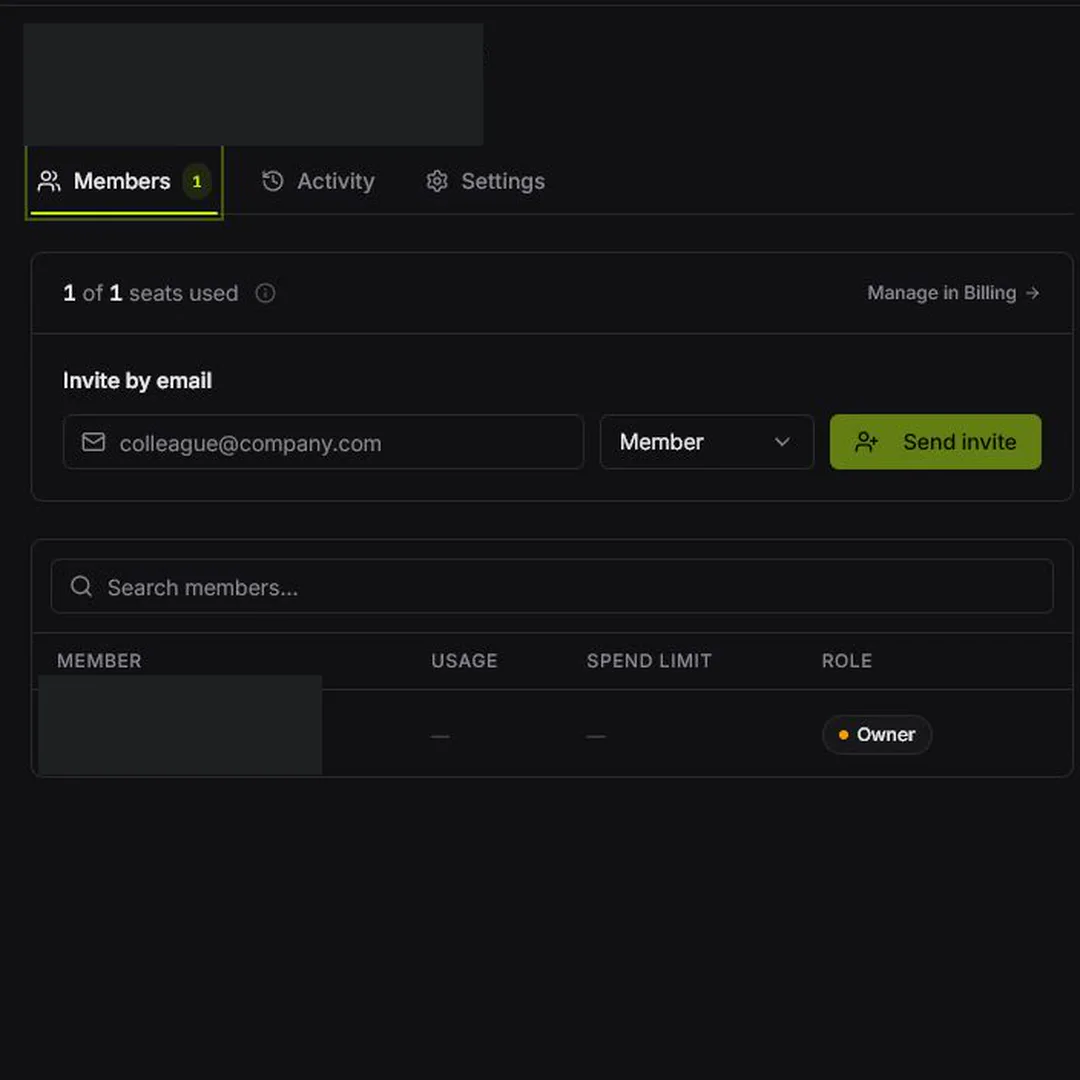 Members
 - 2
Invite a teammate
Enter the email, choose Member or Admin, then select Send invite.
Invite here - 3
Check the role
Review the Role column after the person joins.
Role
Red labels show the exact control to use.
Watch the full walkthrough
Detailed referenceOpen this for definitions, limits, examples, and troubleshooting.
Choose the smallest useful role
| Role | Good fit |
|---|---|
| Owner | The person responsible for the workspace, plan, and highest-risk account controls. |
| Admin | Trusted operators who manage people and most workspace work. |
| Member | People who create, research, and organize within normal permissions. |
| Viewer | People who mainly review permitted workspace content. |
Invite a teammate
- 1Open workspace settingsGo to the Team or workspace member area.
- 2Enter the email and roleCheck the address carefully before sending.
- 3Review seats and limitsPaid-seat and plan rules may apply.
- 4Manage the invitationYou can change its role, resend it, or cancel it while pending.
Switching workspaces
Always confirm the active workspace before scanning brands, creating keys, generating creative, or saving ads. Integration credentials are bound to one workspace and do not automatically follow a workspace switch.